Casting the Apple of Eden from bronze
Early in August, my partner, Eva Funderburgh texted me from her bronze casting class:
Hey! I’m one of only two people in the class. I get as many investments as I want. Can you come up with a good plan to make an apple of Eden model by the time I’m home?
Until recently, I’ve been a big fan of the Assassin’s Creed series of video games, especially since it intersects with my interests in parkour and climbing, history, and science fiction. One of the key artifacts in the games’ fiction is the Apple of Eden, an ancient piece of technology that gives its owner magical powers and the ability to influence people’s minds. The plot of the games often focuses on finding or controlling these artifacts.
My partner had been branching out from ceramic sculpture to bronze casting, and we’d talked a bit about making a replica prop of the Apple out of bronze, but I never wanted to take up space and materials that she could use for her actual art. But now we had the opportunity, and better yet, a deadline. Within a week, we needed to have the wax form of the Apple built and ready.
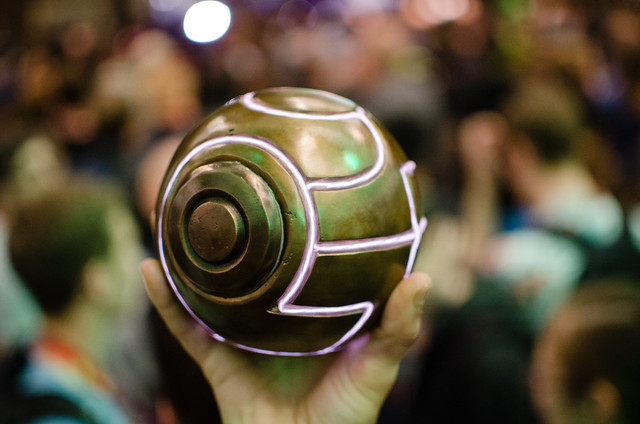
While I don’t build replica props myself (with the exception of this project), I enjoy reading Harrison Krix’s exhaustive build logs for the amazing props he builds. The rest of this article will detail how we designed and built a life-sized, illuminated replica of the Apple of Eden cast in bronze.
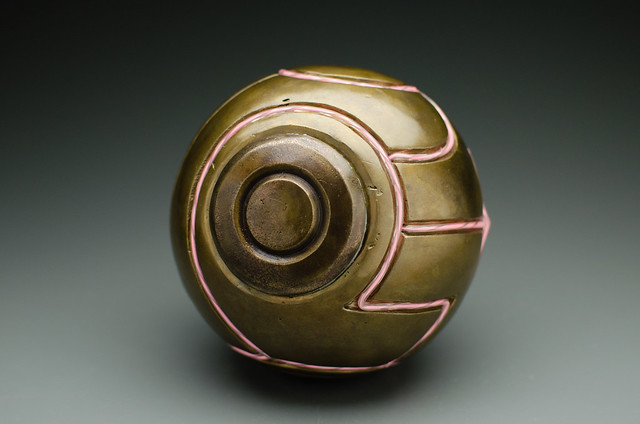
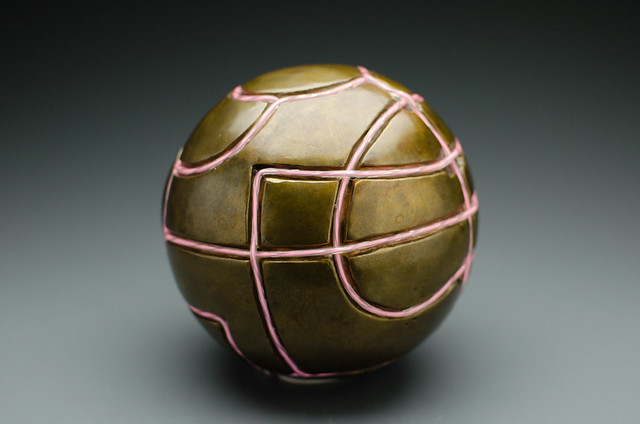
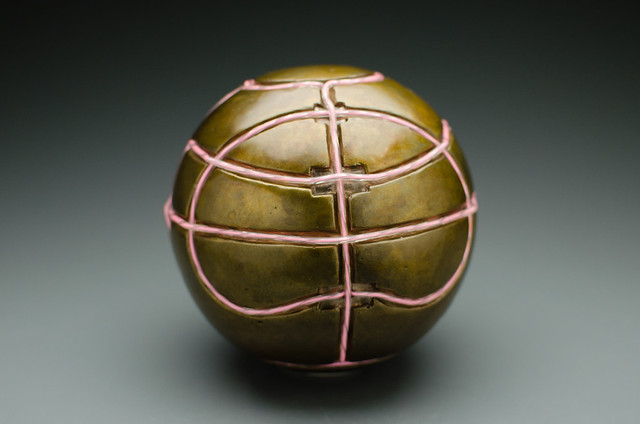
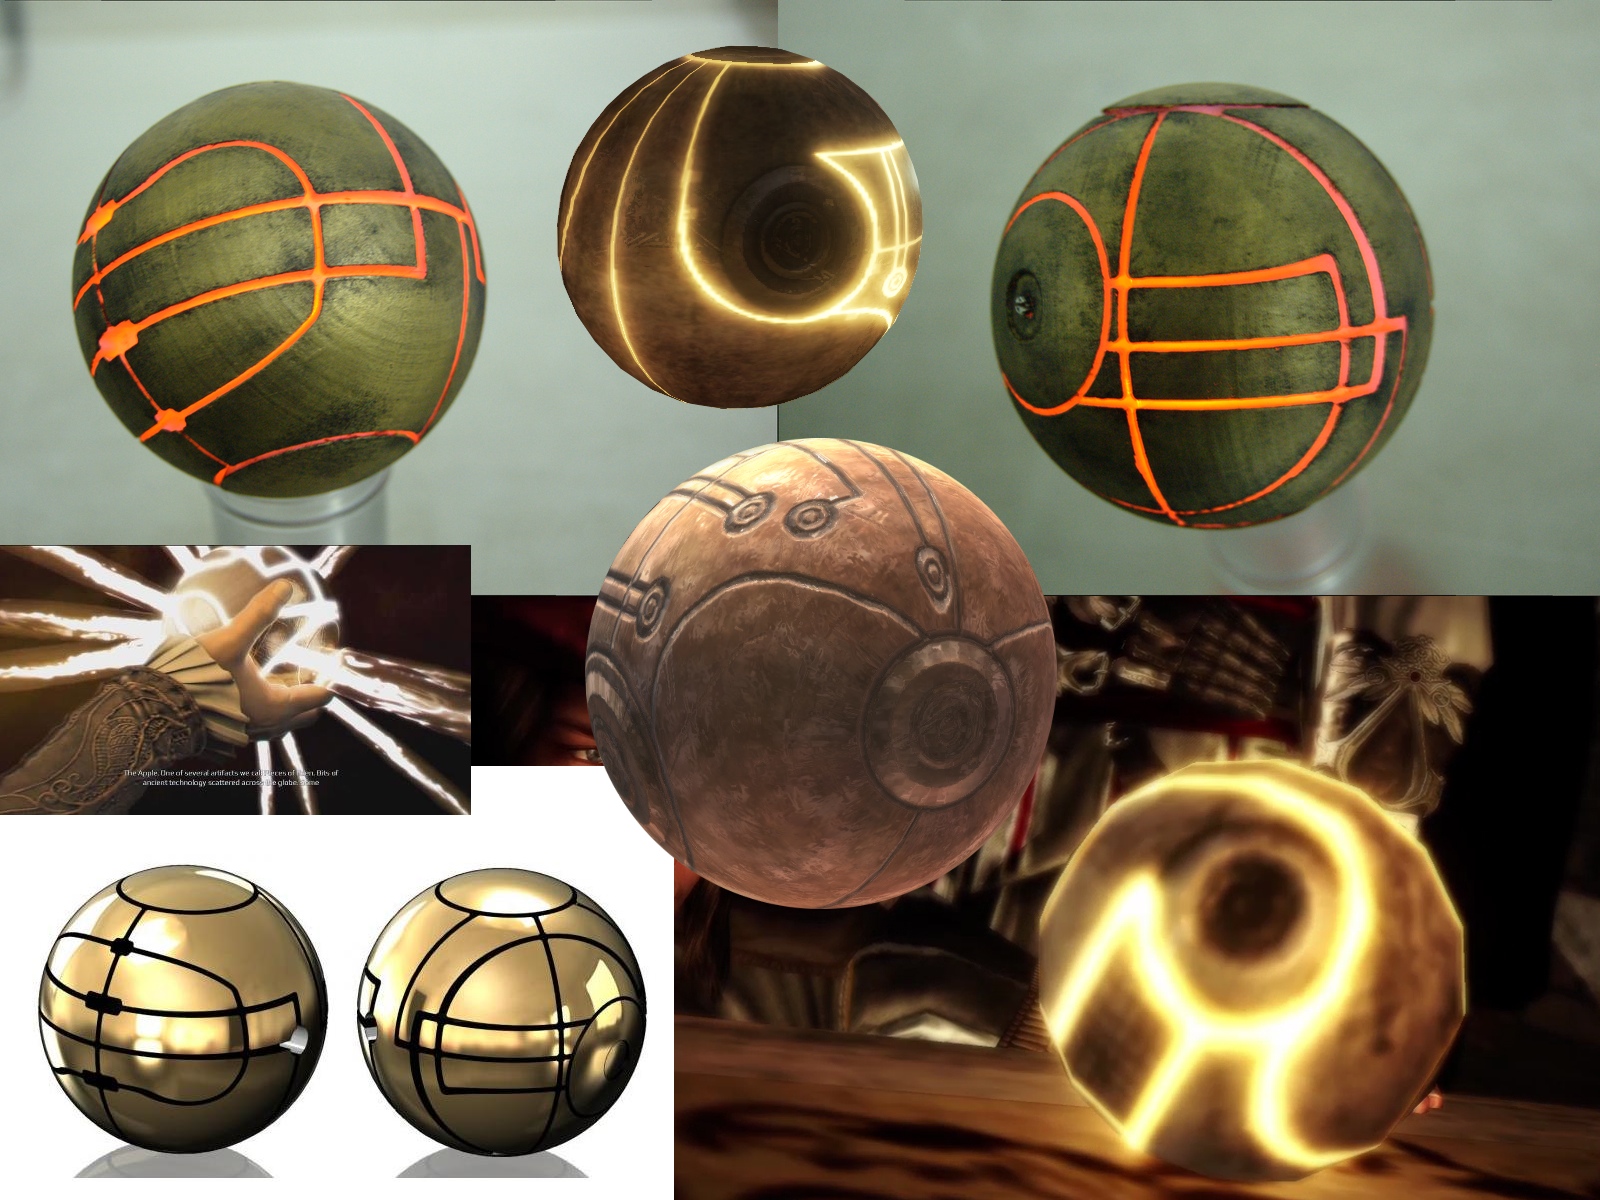
The first task was to actually design the Apple. We knew it needed to be a sphere, and from game screenshots we figured out a rough size based on how it looked in characters’ hands. More troublesome was the pattern on the surface of the sphere, which was hard to pick out from screenshots, and which was not consistent from shot to shot. We ended up designing our own pattern of channels inspired by the common patterns from screenshots and fan art.
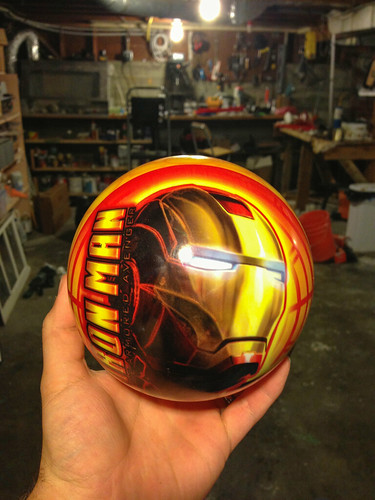
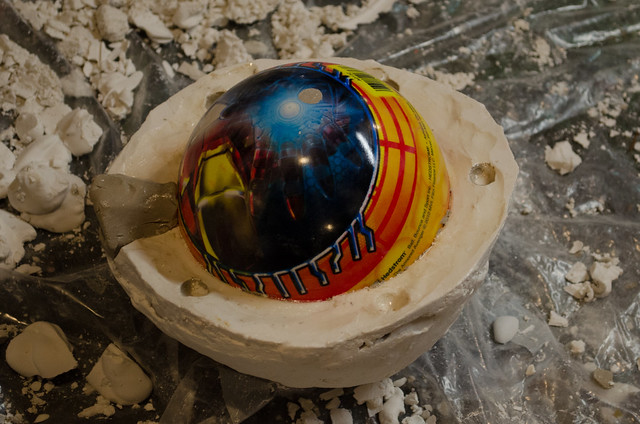
To start with, we needed a hollow wax sphere. In lost wax casting, a wax form gets encased in plaster and then melted out, and bronze is poured into the holes that are left behind. To get a good sphere shape, we made a plaster mold from a cheap toy ball that was already the right size.
First, half of the ball was covered in clay to make a “rim” for the plaster to form up against, and then we mixed up a batch of plaster and slopped it onto one side of the ball with our hands. As long as the interior surface is nice, it doesn’t matter what the outside looks like.
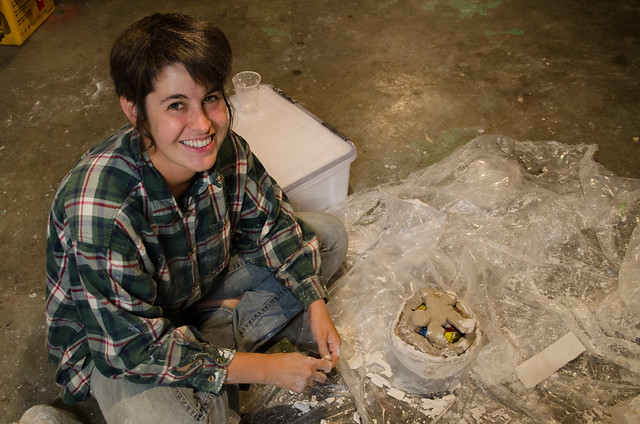
Plaster hardens in minutes, after which we removed the clay. The clay had some registration keys (little dots) in it so that it would be easy to pair up the two halves of the plaster mold again. A bit of clay was used to preserve the pour spout so we could pour wax into the finished mold.
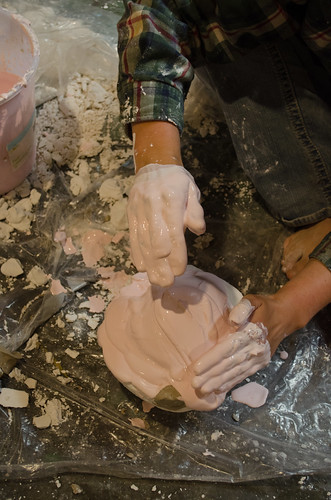
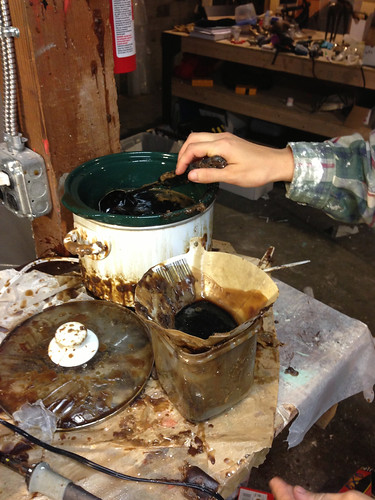
Once the mold was finished, we heated up casting wax in an old crock pot, and poured the wax into the mold. By pouring in wax multiple times and sloshing it around, we were able to get a mostly even shell of wax with a nice spherical outside. It was important to make sure the shell was still thick enough that I could carve the decorative channels in it without breaking through. We cast a few wax spheres so that we could experiment with different designs and carving techniques.
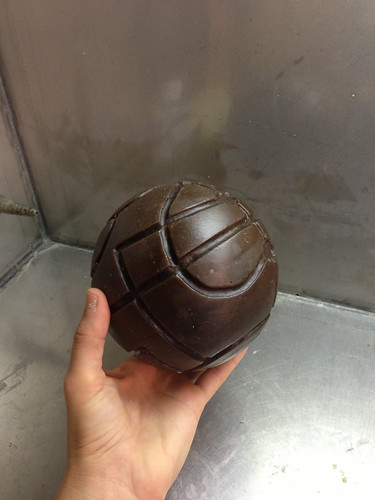
The channels were first drawn lightly on the wax, then carved in using a clay-working tool that has a looped blade at the end. I tried to make the depth nice and consistent, but this was all freehand. I didn’t mind a bit of variation because I wanted this to look like an ancient, handmade artifact rather than a machined, perfect piece. The pour spout was widened to provide a hole to stuff electronics into. Eva turned a cover for the hole on her potter’s wheel directly out of a bit of wax.
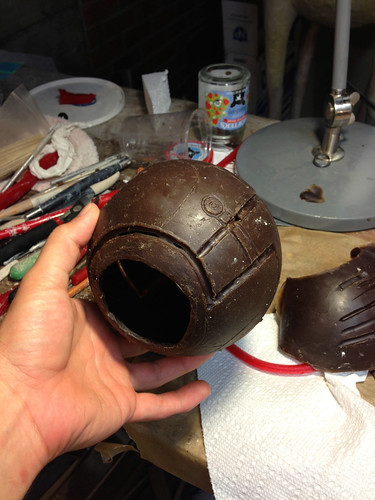
At this point the wax looked generally good, but it had a lot of little nicks and scratches and even fingerprints from where I was working with it. Eva wiped the surface with turpentine, which smoothed out the surface quite a bit.
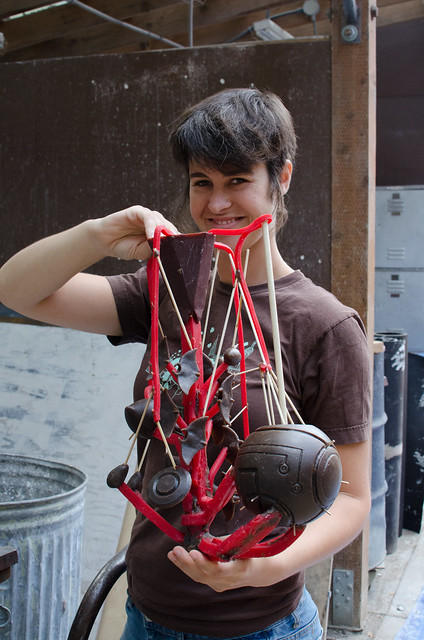
Once we were happy with the shape, Eva sprued the wax onto a sprue system that she was sharing with a bunch of other small pieces. Where many artists would make a single piece at a time, Eva makes complicated sprues of many small pieces, because her art is generally on the small side. The sprue system provided channels for the bronze to flow to the piece, and for air to escape as the bronze flowed through all the spaces. Eva had to build a complex system of large inlet paths with many small outlets, being careful to make sure that there was always a vent at the highest point in the piece, so that air bubbles wouldn’t get trapped. Finally, bronze pins were inserted at points around the sphere so that the plaster in the middle wouldn’t just drop when all the wax was melted out.
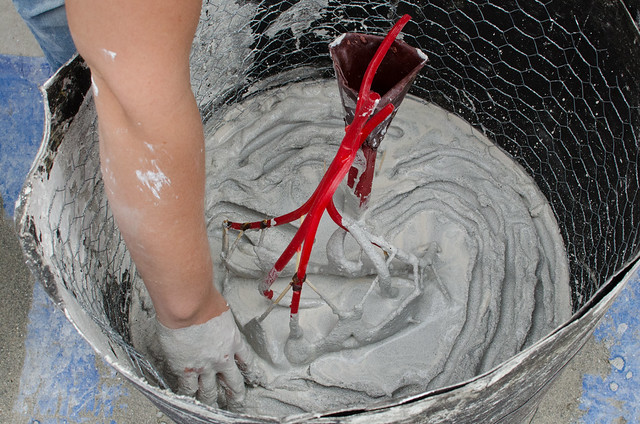
Then, we moved to Pratt Fine Arts Center, and all the sprued pieces were placed in cylinders made of tar paper and chicken wire, and filled with a mixture of sand and plaster. The sprue system was shaken a bit to get rid of bubbles and make sure the plaster got into every corner. The plaster cylinders, called “investments”, were then moved into a large kiln, upside down, and heated to 1200°F to melt out all the wax and burn out any other organic material (like the toothpicks used in the sprue system).
We returned a week later for the bronze pour. We helped dig out the sand pit, and half-buried the investments in sand to contain any bronze in case they split open. Once the bronze had melted in the crucible, it was lifted up by a crane, and Eva helped pour the liquid bronze from the crucible into the pour holes in the investment. This video shows the process much more clearly:
The bronze inside the plaster investments cooled off in about a half hour, and we were able to take axes and hammers to the plaster to free the bronze within. After the pieces were separated from the plaster, they were pressure-washed to get rid of more plaster. The bronze looked super crufty at this point because of oxidation on the surface, and flashing and bubbles that had stayed in the investment and got picked up by the bronze.
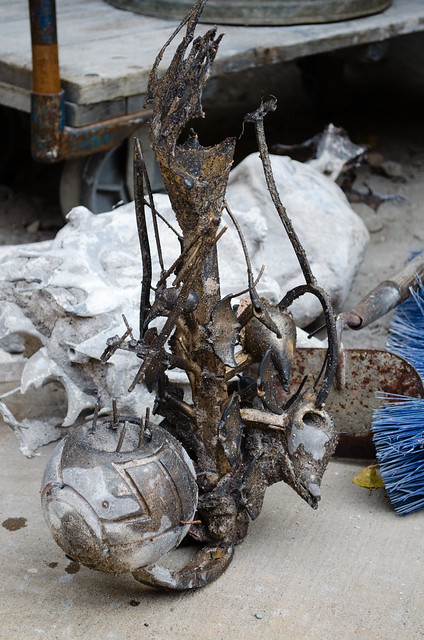
Taking the bronze home, we separated the pieces from the sprues using a cutting wheel on a die grinder or a hacksaw. The extra bronze from the sprue gets recycled for the next pour.
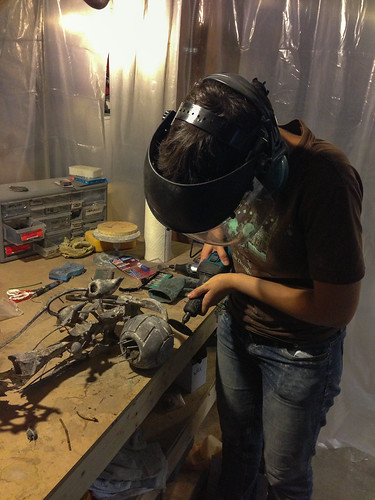
The bubbles were popped off with a small chisel, and then Eva went over the surface with a coarse ScotchBrite pad on her die grinder to smooth off the surface. She then took another pass with a fine ScotchBrite pad, and finished with a wire brush. The transformation is remarkable - at this point the Apple was glowing, bright metallic bronze.
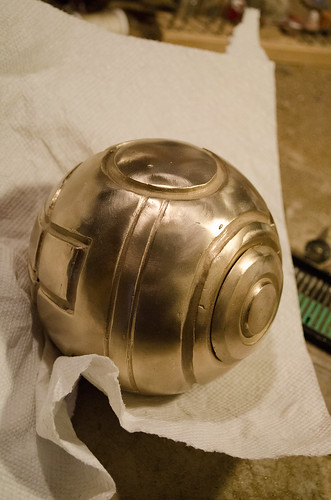
However, we didn’t want an Apple that looked brand new (or looked like shiny metal). This is supposed to be an ancient artifact, and fortunately there’s an entire world of bronze patinas that can be used to transform bronze surfaces with different colors and patterns. First, we tried applying a liver of sulfur and ferric nitrate patina, brushing on the solution while heating the surface of the bronze with a blowtorch. Unfortunately, there was a bit too much ferric nitrate, and a bit too much heat. The effect this produced was striking, with metallic, iridescent splatters forming over the smoother parts of the Apple, and a dark red patina for the rest.
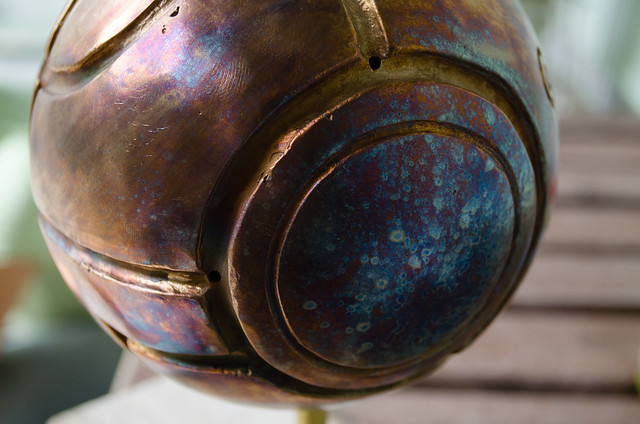
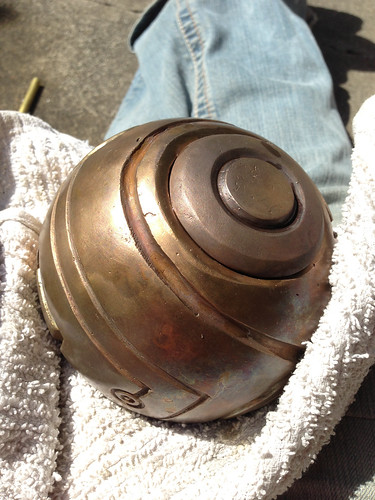
As cool as this patina looked, it wasn’t exactly what we were looking for, but one of the nice things about bronze is that you can always just remove the patina and start over. Eva scrubbed off this patina with a wire brush, and tried again, this time with less ferric nitrate and going lighter on the blow torch. Despite using the same process, the result was very different - a dark, aged bronze that was perfect for the Apple. Eva sprayed on some Permalac to seal in the patina.
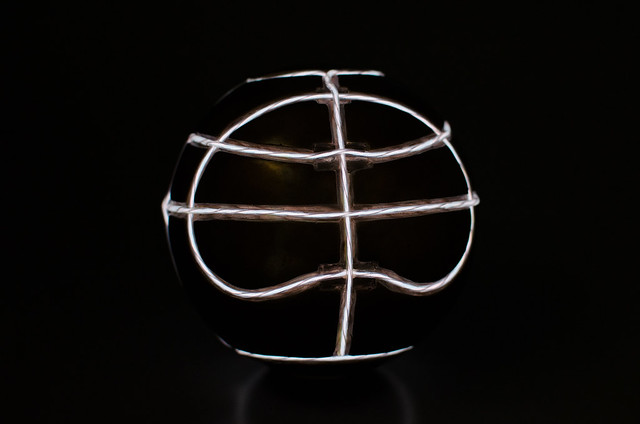
One feature I was particularly excited about was lighting. The Apple glows along its surface channels, and I planned on using EL wire to provide this effect. EL wire glows uniformly along its length, uses very little power, and looks very bright in low light. First, Eva polished the inside of the channels with a wire brush to provide a bright reflection of the wire. Then, I worked out how to take the EL wire I had bought and work it into all the channels in a single continuous line with a minimum of overlap. This required drilling holes in strategic intersections and running some of the wire internal to the sphere. We tried some different options for attaching the wire, like silicone caulk with glow-in-the-dark powder mixed into it, but in the end it looked best to just superglue the wire into the channels. The battery pack and transformer fit snugly inside the sphere and connected to one end of the glowing wire.
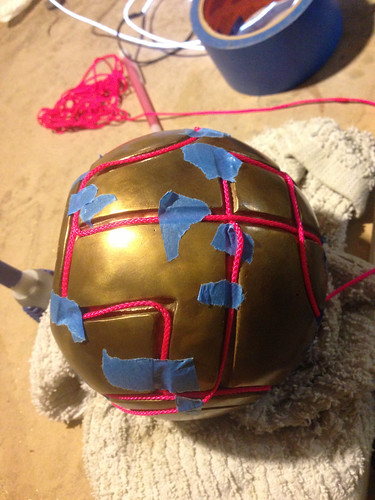
The last bit to figure out was the cap. Since it was cast from bronze, it was hard to make it mate up with the hole in the sphere perfectly, so we hadn’t bothered. We bridged the gap by heating up some Shapelock plastic, forming it around the base of the cap, and then pressing it into the hole. We trimmed all the excess plastic so it wasn’t visible. Once the Shapelock cooled, it formed a perfectly fitting seal that allowed us to press the cap onto the sphere and it would stay put unless pried off with fingernails.
We really had two deadlines – the first was the bronze pour, but we also wanted to have the Apple finished in time for PAX, a big gaming convention that’s held every year in Seattle. We didn’t have time for full Assassin’s Creed costumes, so instead we carried the Apple around the show and took pictures of other video game characters holding the Apple. Oddly, we didn’t find any Assassin’s Creed cosplayers.
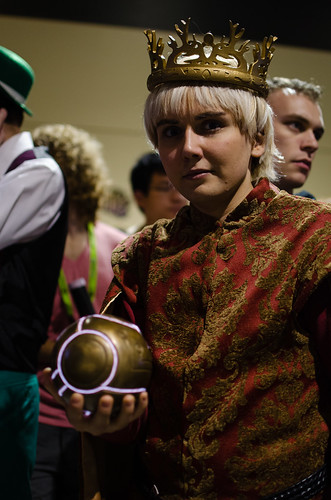
I’m really glad that we got the opportunity to work on this fun and nerdy project. The Apple sits on my mantle now, and it’s fun to light up and hold – there’s no substitute for the weight and feel of real metal. I plan to bring the Apple with me to PAX again next year.
You can view all the progress photos and PAX photos on Flickr.
